
Build Your Own Radio Station (Mac Version)
bismillah..
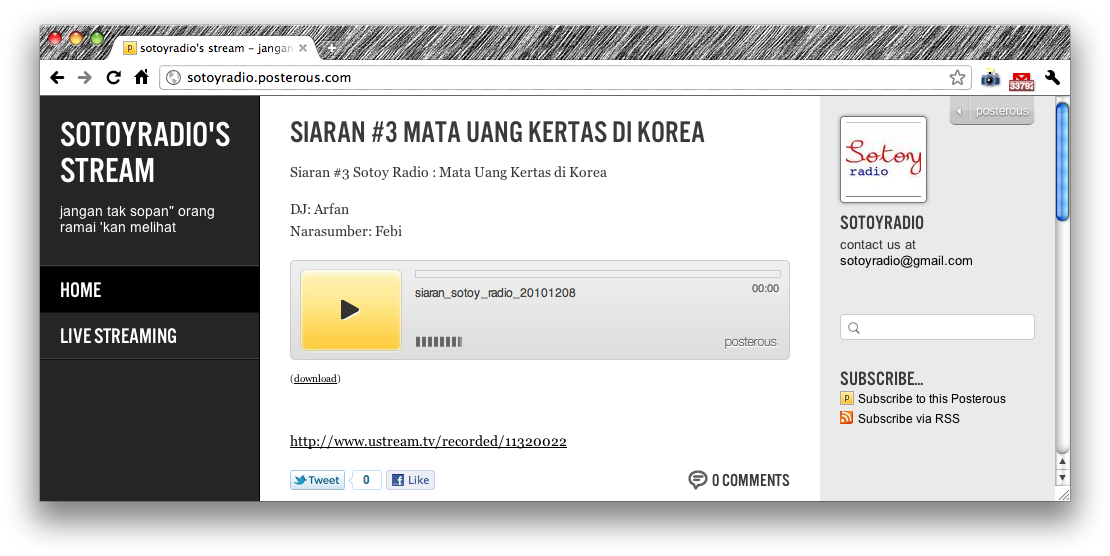
Struggled… for a few days.. 😀 but finally I made it works.. hehe
Actually, the icecast has been working well since two weeks ago, but it could only receive a playlist stream provided by ices2 program. Okay, now we’ve encountered two foreign term.. icecast and ices2.. what are those creatures.. hehe. Later on, we’ll discover one by one..
I will focus on sharing my experience on creating an Internet Radio Station specifically on Mac. Also, this implementation will be using vorbis encoding, that you may use lame mp3 as encoder in your own preference. Ubuntu or windows will be following in other posts. I really want to share it with you guys, while it’s still hot.. 😀
Anyway.. let’s start it.
Requirement:
1. Downloads :
- icecast – we will use icecast version 2.x in this example. You can download the files here. Download the source code. However, if you do not want to compile it by your self, you can download macport and let it do all the dirty works.. 😀
- darkice – a live cast tool that can encode voice input from computer sound devices into desired encoding (mp3 or ogg vorbis). You can download the source code of darkice here. I’ve read about the availability of darkice in macport, however when I ran the search command, it didn’t found anything.. :S . That’s why we need to build the library from scratch. Current version of darkice is 1.0.
- JackOSX – Mac porting of JACK device driver in linux. It will create an interface to be used by darkice. Download it here. If you use macport then avoid to use that version of JACK. I faced it that the device was not well configured.. I don’t know exactly why.. 😦
- Okay.. install macport .. hahaha
2. Compilers
Install essential package from xCode available in your mac installation DVD in order to be able to compile the source codes.
Steps:
1. Icecast installation
We just need to call the port command belongs to the macport from console. Run with root privilege.
$ sudo port install icecast
After that, port will download all required dependent libraries needed by icecast, including the lame mp3 library and ogg vorbis library. We need to change ownership of some folders in order to be able to runs it well with the existing configuration template. Although, we can also define our own configuration for logging folder. In my implementation, avoiding non default logging folder and cache folder, I just change their ownership 😀
$ sudo chown -R desired_user /usr/local/share/icecast
It will change the ownership of caching and logging folder to the “desired_user” .
2. JackOSX installation
You just need to run the package file that has been extracted from a zip file. Restart of system will be required.
3. darkice installation
Extract downloaded file and enter the folder using console. We will do some configuration in order for darkice to be able of using the JACK device.
Befor that, we need to modify a few lines of source code in order to get the JACK run automatically along with the darkice. It is not necessary, however it will make our life easier in the future.. 😀
Find JackDspSource.cpp file in the src folder, and open it. We will find this lines of codes in line 209 :
if ((client = jack_client_new(client_name)) == NULL) {
    throw Exception( __FILE__, __LINE__, "JACK server not running?");
}
Replace those lines with this code :
if ((client = jack_client_open (client_name, JackNullOption, NULL)) == 0){
    throw Exception( __FILE__, __LINE__, "JACK server not running?");
}
We are replacing the deprecated jack_client_new function with the jack_client_open function. The latter one will automatically starts JACK server. 🙂 You can download the modified JackDspSource.cpp here .. http://pastebin.com/uTNwLTUi
Save the modification and run these commands from the console:
$ export prefix=/opt/local $ /configure --with-lame-prefix=$prefix --with-vorbis-prefix=$prefix --with-twolame-prefix=$prefix --with-faac-prefix=$pefix --mandir=${prefix}/share/man --with-jack-prefix=$prefix $ make $ sudo make install
we need to explicitly declare that we are using library of lame and vorbis, along with the JACK. The darkice will be compiled using all of those capabilities. We also defined prefix prevously to be on “/opt/local” since the macport installed all those libraries inside that folder.
To test whether the installation is successful or not, we can run “darkice” command in console and we will have the program is found or not.
4. Run the icecast
We need to configure the icecast config file. The default file is located on /opt/local/etc/icecast.xml .
The configuration file I made is uploaded here.. http://pastebin.com/Fj9MTVzZ
The lines needed to be modified are only:
– authentication section
<authentication>
    <!-- Sources log in with username 'source' -->
    <source-password>yourPass</source-password>
    <!-- Relays log in username 'relay' -->
    <relay-password>yourPass</relay-password>

    <!-- Admin logs in with the username given below -->
    <admin-user>admin</admin-user>
    <admin-password>yourPass</admin-password>
</authentication>
change the username as password as you like.
– address binding
<!-- This is the hostname other people will use to connect to your server.
It affects mainly the urls generated by Icecast for playlists and yp
listings. -->
<hostname>0.0.0.0</hostname>

<!-- You may have multiple <listener> elements -->
<listen-socket>
    <port>8181</port>
    <bind-address>0.0.0.0</bind-address>
    <shoutcast-mount>/mount.ogg</shoutcast-mount>
</listen-socket>
Change the hostname to your computer IP. Port number can be defined as you like that will be used to access your radio. The bind address is again your IP number. The mount point will be the file address showing after the IP number and port number in your URL address field.
For the above configuration, the url will be : http://0.0.0.0:8181/mount.ogg .
You can run the icecast by this command:
$ icecast -c /usr/local/etc/icecast.xml -b
“-b” parameter means that the icecast will run in the background.
check by running
$ ps -def |grep icecast
if there is a program running in the background, then everything is okay.
5. Run the darkice
Create the configuration file for darkice. You can see mine here.. http://pastebin.com/xdsz7eB7
The parts you need to modify is on the icecast2 connetion:
[icecast2-0] bitrateMode = abr # average bit rate format = vorbis # vorbis # format of the stream: ogg vorbis bitrate = 96 # bitrate of the stream sent to the server server = 0.0.0.0 # host name of the server port = 8181 # port of the IceCast2 server, usually 8000 password = yourPass # source password to the IceCast2 server mountPoint = mount.ogg # mount point of this stream on the IceCast2 server name = RadioName # name of the stream description = This is only a test # description of the stream url = http://0.0.0.0:8181/mount.ogg # URL related to the stream genre = yourGenre # genre of the stream
Fill the server with IP of your icecast running computer. So do with the port number and mountPoint comply with the setting of icecast in the previous setting. Save the file in certain folder, we’ll name it as darkice.cfg for example.
As for the input source setting, we’ve set it as “jack_auto”. It will automatically grab the input from JACK device.
Run the darkice with this following command.
$ darkice -c darkice.cfg
it will print out some verbose description.
6. Test your radio
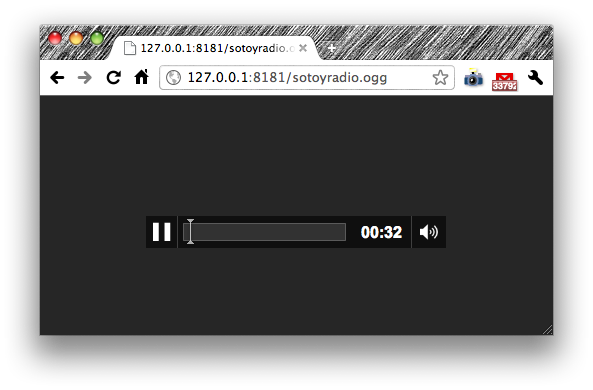
Open your browser, it can be firefox or chrome or an IE. Put http://0.0.0.0:8181/mount.ogg in your address bar, following the setting in your icecast config file.
And, if there was no problem .. we can hear our own voice with a delay of about 7 seconds.. 😀
..
I think, that’s all I could share for now.. 🙂
Discuss - 3 Comments
LanceDec 24th, 2010
Hello –
I’m trying to set up a radio stream.. wondering if you can help out.
Here is what I want:
1. User goes to http://www.djlance.net/djlanceradio to listen
2. On my server (linux server) I have a directory of .ogg files that will randomly play to the above URL
—
What Ive done so far is:
1. installed icecast2
2. installed ices2
3. where I am getting lost, is the config file. I don’t understand how to connect the 2 together.
Any ideas? I’m a graphics guy, so this coding is very hard for me to grasp
thanks!
havbanDec 24th, 2010
Hi Lance,
I encountered on some confuse also the first time I met icecast and friends.. 😀
This answer should be part of the next post about radio on linux. However, since I haven’t post anything on it, I will explain a little here..
The icecast2 as you know is a streaming radio server that can read and broadcast various filetypes (mp3, ogg, etc).
ices2 program as you have now, is used to push data into the icecast2 server, and limited to only ogg file type. If you would like to push mp3 file, you can find its sibling ices program (notice without “2”). You should be aware too that you couldn’t control the playback of music file outside the playlist file you’ve defined previously, ices and ices2 will only stream as list.
Assuming you’ve installed both program correctly, you need to define configuration file for both programs. First, for the icecast2, you can find on my above post, on section “4. Run the icecast” . You only need to modify lines related to the server binding address and user’s athentication (admin, passwords). Example file : http://pastebin.com/Fj9MTVzZ
You then can run in using this command:
$ icecast -c <path to your config file in .xml>for example
$ icecast -c /usr/local/etc/icecast.xmlFor ices2 configuration file, it’s simpler and following the parameters defined in icecast configuration file. Here is the template file I used : http://pastebin.com/ykgRr4wL
Modify field for the IP from 0.0.0.0 to your server IP, your password, and also the mount point of radio server, following the icecast configuration file.
As far as I know, you can not play from certain folder wihout creating a playlist file first. In that case, you should make a text file containing path to the ogg files in each line.
You can run the ices2 using this command:
$ ices <path to your ices config file>for example,
$ ices ices.conf.xmlIf there was no problem, you should hear you music played back on the designated mount point.. 🙂
don’t bother to ask.. you can also contact me direcly on havban@gmail.com
Regards,
LanceDec 26th, 2010
thanks for your help.
I still cant get it working. i think what confuses me is trying to get djlance.net/radio to actually play this stream. Where do I tell icecast (or ices) to play the stream from that URL.
BTW — I have my own dedicated server, and djlance.net is a domain on the server.
Here is what i’ve edited in my config for Icecast:
        test1234


        test1234


        lkorsun

        test1234
    70.32.106.65
    <!-- You may have multiple  elements -->
        8000

        70.32.106.65

        djlance.net/radio.ogg


        /home/zunskigraphics/src/icecast-2.3.2
        <!-- Note that if  is turned on below, these paths must both

             be relative to the new root, not the original root -->

        <!-- /usr/local/var/log/icecast -->

        /home/zunskigraphics/src/icecast-2.3.2

        /home/zunskigraphics/src/icecast-2.3.2

        /home/zunskigraphics/src/icecast-2.3.2/admin
And here is my config for ices:
	1

	/home/zunskigraphics/src/icecast-2.3.2

	Music_Server.log

	4

	0
			playlist

			basic


			/home/zunskigraphics/playlist.txt
			0

			0

			0
			70.32.106.65

			8080

			test1234

			djlance.net/radio.ogg

			2

			5

			80
				64000

				44100

				2